Common print mistakes (and how to fix them)
)
Preparing artwork for print can be a little daunting (even for experienced designers), but hope is not lost; there are simple steps you can follow to ensure your print will come out trumps.
If you're a rookie and want to get results like a pro, make sure you avoid these common design mistakes...
Wrong document size
Whether you're printing Business Cards or banners, it's vital that your artwork is the right size. Trying to print an Instagram photo on a banner stand isn't going to look very good, so set your size and units when you make your document, and check your dimensions. Oh, and don't forget to add bleed.
Working in the wrong resolution
Less of a problem in Illustrator, more of a problem in Photoshop; working in the wrong resolution can cause problems when going to print. Most documents are printed at 300dpi, unless you move up to large format printing, which is sometimes set at 150dpi. For everyday documents like Flyers, Business Cards and Stickers, stick with 300dpi. Printers produce colour by combining thousands of dots, like pointillist art. If you have 300 of those dots in a square inch it is considered the standard for good quality print. A resolution above 300dpi is unnecessary for your print you won't spot the difference unless you're looking through a magnifying glass.
Forgetting to add 'Bleed'
Bleed is an area of print at the edge of the document that gets trimmed off after printing. That means you need to make your artwork slightly bigger, so it can be trimmed down to the right size. When print is cut to size, the cut isn't always 100% accurate. If you don't add bleed, you risk having a white line at the edge of your print where the artwork ends. Luckily, adding bleed is pretty straight-forward you can find out how to do it here.
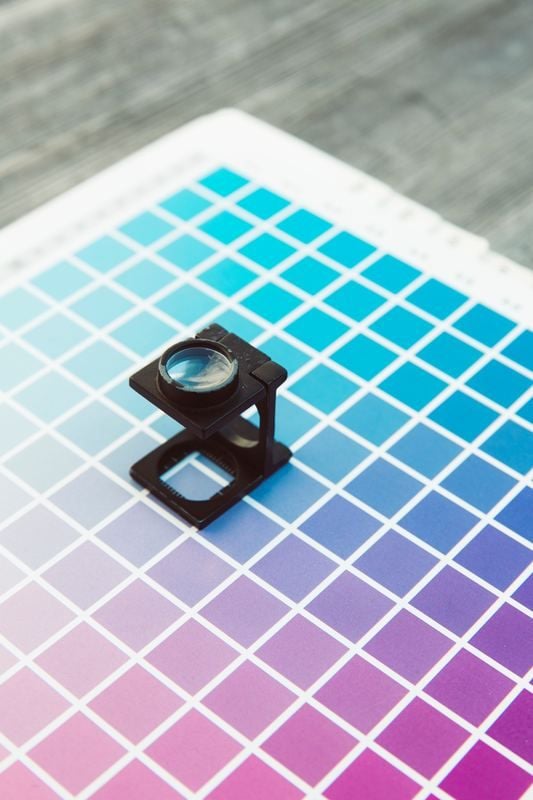
Working in the wrong colour mode
Choosing the wrong colour mode is a classic print design error that's been known to trip up rookies and well-seasoned designers alike. If you're wondering how to prepare a design for print at a professional printer, always remember to stick to CMYK colour mode (cyan, magenta, yellow, black).
Documents for print need to contain information for all four colours in the print head; cyan, magenta, yellow and black. The first three are primary colours and the black is used to mix darker versions (shades) of those colours.
"Colour that comes from illuminated light-sources (computer screens, let's say) is described as 'additive' (RGB) colour: red, green and blue. Everyday colour, including print, is known as 'subtractive' (CYMK) colour. Before you knuckle down in Illustrator, Photoshop, whatever your weapon of choice, make sure you switch to CMYK colour mode."
Using the wrong values for black colour
When printing large areas of black, it's better to include more than just black in your CMYK value. Printers lay colour down in layers, and adding extra colour helps stop the paper from showing through, creating a richer black. 'Rich' black is great for large areas, but for text it's better to use a simple 100% black. This is because if the colours aren't perfectly aligned, your text won't be so sharp.
CONTACT US with all your printing questions and needs.
{Source: Printed Blog}
| Tags:FeaturedDigitalpress Masterclass |
)